Thursday, April 30, 2015

Finished April Umbrella Wall Hanging

Houston, we have a finish!

Over the last few evenings I've been able to do all of the background quilting on this wall hanging and finish it up -- ta da!


I did the rest of the quilting with meandering loops and quilted all of the background. I didn't do any quilting on the flowers, leaves, stems, or the umbrella handle to help them stand out.


As I mentioned in my progress post about quilting this one, it's slightly difficult to see the quilting on the backing fabric, but I think it shows up decently well in this picture. No puckers -- yeah!


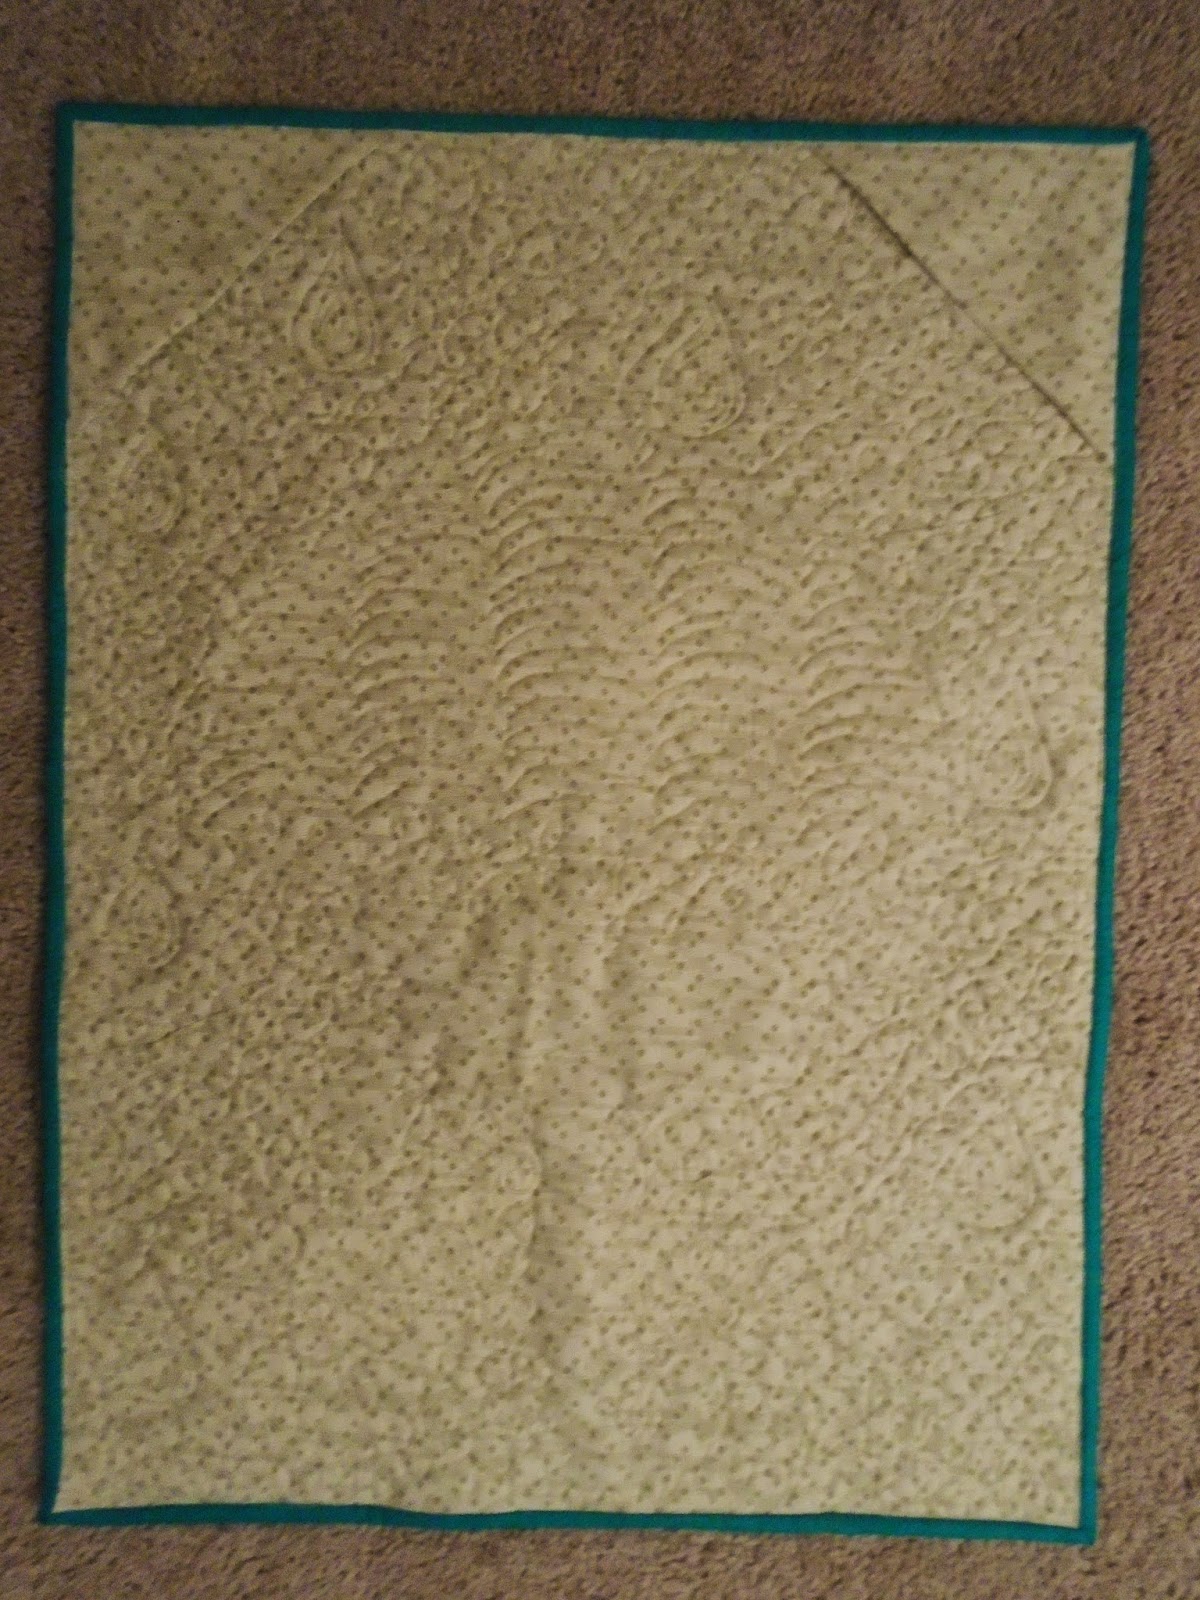
I used some of my 2.5 inch strip stash to do the binding with a dark bright teal. No fancy stitching on this one because I didn't have a good thread color at the ready so I just used off white to straight stitch the binding. The corners turned out REALLY good (like, unusually good) and I'm not going to complain!


Don't forget that Monday is the next post for the Row Quilt QAL and that you can still link up your finished 8 inch block rows!

Linking up with Finish it up Friday and Free Motion Mavericks!

PS. I'm signing up for Sara's Halloween Mini Swap! Check out the info here!

Monday, April 27, 2015

Fussy Quilting

I finally have some progress to share on my April wall hanging!

So, embarassingly, part of my problem has been not having any off-white thread to do said quilting and I finally forced myself to stop and get thread on my way home from work Friday and was able to get some of the quilting done yesterday.

This is my first attempt at "custom quilting" or as I like to call it, "fussy quilting" and I am pretty pleased with the results thus far.

Here's a shot of the whole wall hanging right now:


On the umbrella, I did echo quilting of the scalloped edge of the umbrella. I didn't want to do all that much to take away from the epic fabric that I used for the umbrella.


It's really hard to see on here (and even harder to see on the background!) but the boots are quilted with curls.


Each raindrop is quilted with a raindrop shaped swirl inside. I think these are my favorite of the quilting that I've done on this one thus far.


I'm going to do some sort of filler on the rest of the background -- no quilting on the flowers or the umbrella stem just because they are so small. The backing fabric is the same green and off white fabric you see in the above picture so it is REALLY hard to see the quilting on it but hopefully when it is finished it will show up better.

Happy stitching! Will be sharing at the normal linky places: Linky Tuesday, Fabric Tuesday, Sew Cute Tuesday, WIP Wednesday.

Monday, April 20, 2015

QCQAL 2: Row 4 -- Crystal Star Tutorial and 8 inch row link up

Yay, finally a star block!

This is a cute block and a good one to use with fussy cut centers. I used the same fabric for the center of all nine of my blocks, but then alternated what the outer colors were for the triangles, so I ended up with 5 blocks with one color placement and 4 blocks with another.

Here's what you need to cut for one block:


For a throw sized quilt you will need:
Six (6) 3 3/8 inch squares
Twelve (12) 3 inch squares, each cut diagonally once
Twenty four (24) 2 7/8 inch squares
Six (6) 5 1/4 inch background squares
Twenty four (24) 2 1/2 inch background squares

For a twin sized quilt you will need:
Nine (9) 3 3/8 inch squares
Eighteen (18) 3 inch squares each cut diagonally once
Thirty six (36) 2 7/8 inch squares
Nine (9) 5 1/4 inch background squares
Thirty six (36) 2 1/2 inch background squares

Using your cut triangles and your 3 3/8 inch squares, sew a triangle on to each side of the square as shown below to make a square in a square unit. Your square-in-a-square units will need to be trimmed to 4.5 inches and make sure to center your square when you do so! It is also helpful to trim off your "dog ears" as you go as well to prevent bulk.


Using your 5 1/4 inch background squares and 2 7/8 inch squares, make fast flying geese units. You will need four (4) fast flying geese units per block. Draw diagonals on all of your 2 7/8 inch squares, align as shown below (2 per background square), sew 1/4 inch from each side of the line, and cut apart on the line. Press and repeat with remaining 2 7/8 inch squares. Make sure to trim off "dog ears!"


Lay out your block as shown below and sew together.


Here are all nine of my blocks:


For those of you making a twin sized quilt, remember that you will need to make a third 8" block row. I chose to make Dutch pinwheel blocks in nine different fabrics (instead of mixing up fabrics within the individual blocks).


Here are all three of my 8" block rows:


Sharing at Sew Cute TuesdayLinky Tuesday, and Fabric Tuesday!

Here's your chance -- the link up to share your 8 inch blocks will be open until May 8th!


Monday, April 13, 2015

Single for the weekend

Park Ranger Husband went home to Ohio for a long weekend (and to see three Indians games, but unfortunately they lost all of them) so I've been a semi-single lady since Thursday and I took full advantage of that by setting up all of my sewing stuff in the living room for the weekend to finally make some progress on a whole pile of projects (and watch 14 episodes of Lost -- let's be honest here.)

The first thing that I worked on was my April Stash Bee blocks for Liz (check out her blog!) who requested origami crane blocks. If you've followed me for a while, you know that I LOVE paper piecing, but haven't done much lately, so this was right up my alley!


The next thing I worked on was putting together the top for my Stash Bee quilt! Forgive the awkward angled pictures, but I am SO happy with how it turned out and very glad I went with the staggered setting because it really helped mitigate the difference in block sizes!


Not sure what I am going to do with this one yet. I have one extra block to use as a label on the back (yay!) but I am not sure if this needs borders or not. Right now it is 48 x 64 -- which is a really big baby quilt or a decent sized throw quilt. 

I also got all of the satin stitching done on my April wall hanging! Hooray!


I had originally planned to do this one entirely in brown satin stitching, but for some reason, the flowers did not look right with brown, so I went with all black. I added some raindrops around the border, to make it look like rain was falling on the umbrella. I was able to also get this one all layered and pin to quilt this one this week! The backing is the light green print fabric that's used in the center and I plan to use the squiggle for the binding.


Wednesday, April 8, 2015

WIP Wednesday: April Showers and May Flowers

Since my rush of QAL sewing is over (momentarily!), I have been able to get a little work done on some of my other projects. Hooray! (Don't forget to click here to vote for what blocks will be featured next for the QAL!)

My April wall hanging has been sitting in limbo for about two weeks now. I ironed on all of the "inner" pieces and parts for the machine applique and I am going back and forth on how to decorate the border. Squares? Squares and raindrops? Just raindrops? Something else? Suggestions sought and welcomed. I think at least a few raindrops are necessary for "April Showers."


I think I am going to outline this one mainly in brown/black. While this background isn't quite as busy as my March wall hanging, the boots and umbrella need a little more setting off from the background because they are lighter colored.

Last night I traced the shapes, picked the fabrics and ironed on the center pieces and parts for my May Flowers. I had put together this backing quite a while ago (as well as it's mini counterpart from the scraps!) and it uses quite a bit of coordinating fabrics. I especially love the diagonal stripes!


This one I think I am going to go lighter on the border embellishments. The pattern for this one has three bugs and squares in the remainder of the border squares, but I think I might try to do something else with this one. Maybe curlie cues. I LOVE the fabric in this one, so I just don't want to cover it up entirely. As far as the outlining goes for this one, I might do contrasting colors to set things off and make it a little more funky. I can't usually be accused of being funky, so it'll be a new thing for me.


Monday, April 6, 2015

QCQAL 2: Row #3 -- Rocky Mountain Puzzle Tutorial

Welcome back, everyone! It's time to size down our blocks and make more per row.

The first 8" block that we will be making is a Rocky Mountain Puzzle. Remember that you'll need to make 6 blocks for a throw sized quilt and 9 blocks for a twin sized quilt!


For my twin sized quilt, I made three blocks in each of three different color combinations. I found it easiest to make them three at a time, as to not mix up my colors!


For a throw sized quilt you will need:
Six (6) 2.5 inch squares for the block centers
Twelve (12) 1.5 x 2.5 inch strips
Twelve (12) 1.5 x 4.5 inch strips 
Thirty (30) 3 inch squares for HSTs
Thirty (30) 3 inch background squares for HSTs
Twelve (12) 2.5 inch background squares

For a twin sized quilt you will need:
Nine (9) 2.5 inch squares for the block centers
Eighteen (18) 1.5 x 2.5 inch strips
Eighteen (18) 1.5 x 4.5 inch strips 
Forty five (45) 3 inch squares for HSTs
Forty five (45) 3 inch background squares for HSTs
Eighteen (18) 2.5 inch background squares

Sew your 1.5 inch wide strips to your 2.5 inch square, first sewing the 1.5 x 2.5 inch strips to the sides, and then sewing the 1.5 x 4.5 inch strips to the top and bottom. Press away from the center square. Set aside for a short while.


Using your 3 inch squares, draw diagonal lines on all of your background squares. Pair each with a focus fabric square and sew 1/4 inch from each side of the line. Cut apart on the line, press, and trim to 2.5 inches. You will need 10 HSTs per block.


Gathering all your block parts, lay out each block as shown below. I found it easiest to sew the outer HSTs into groups as shown in the second picture.  Sew together all your parts for your finished block.


Here are all nine of my Rocky Mountain Puzzle Blocks!


Go get stitching on your blocks and come back in two weeks for our second 8" block!

Friday, April 3, 2015

Finished October Wall Hanging

Talk about an off-season finish!

I've actually had this done for a few weeks, but with all of the stuff I've had to do prepping for the QCQAL (new block Monday, don't forget!!) I haven't had the time to take pictures of this and post it!

I had started the satin stitching on this one way back in October in the hopes of getting it done before Halloween, but that just did not happen, and then it got shoved to the bottom of the pile because it was a year away before I'd use it.

Rather than leave the project half finished for another six months, once I finished my March wall hangings, I went back to work on this one, and ta-da! It is completed.


(Forgive the abysmal fluorescent lighting!)

For the quilting, I decided to do freeform wiggles horizontally across the piece. I spaced them evenly to start, then started layering until I felt it was dense enough. I am SO happy with the texture and how it turned out. Another new FMQ pattern in the books!


Above is a close up of his face and below is a close up of the front background quilting sections. I quilted it with orange thread on both the front and the back.


The back is scrappy and pieced! Originally, I had planned to use the orange and black print batik on the front, but when I was cutting, it seemed like it had too much orange to be mixed in in the center, and had too much black to be mixed in around the border so it ended up on the back with some other scrappy black and orange pieces.


Here's another shot of the quilting from the back. I just LOVE it.


I used this fun green print for my hanging pockets. I got a fat quarter of it in a swap a while back and had just enough of it to make both pockets.


For the binding, I originally planned to use the black and white squiggle print from the backing, but I didn't have enough BUT I found that I had a bunch of leftover strips of this green tonal botanical print already cut! Hooray!


Linking up with Free Motion Mavericks and Finish it up Friday!