Wednesday, January 29, 2014

WIP Wednesday: Bordering on insanity

I had fully intended to do a post between the last time I talked about my Lazy Sunday Mystery Quilt and now, but that clearly didn't happen.

Since I couldn't make additional blocks, I first planned to make it twin size and to just put simple borders on the quilt instead of the pieced borders that the pattern directs. I used my light blue fabric for the innermost border and then decided that I did want to do at least one pieced border so I came up with what I think is clever:


It looks complicated, but it is just strategically colored fast flying geese units! I will hopefully have a tutorial on how to do this in the next few days!

Here's the top laid out on my queen sized bed. It surprised me that the length was just about perfect!


So after consulting my quilt spirit guide (aka my husband) I decided to put 12 inch borders on the sides and a 2 inch border on the top and the bottom so that it would end up queen sized.

Here's what the corner looks like:


And here is entire quilt top!


Another one to add to the "not quilted" WIP pile.

Linking up at Freshly Pieced!

Saturday, January 25, 2014

Pins, pins, and more pins.

I hadn't worked on my 2013 Stash Bee Quilt, based on the Simply Woven quilt from Moda Bake Shop, since before we left to go home for Christmas and today I got the top all put together unless I make more blocks.


The name of the game with this one was PINS, PINS, PINS. I had to pin at 6 points per pair of blocks to get the colored strips lined up. This one, I will admit, was not the best choice to have 15 different people make a block that requires so much accuracy to be able to sew it all together without ripping one's hair out. It made for a great variety of prints and some of them came together great -- but NOT recommended as a Bee Block for future reference unless everyone has 1000% piecing accuracy.

I'm still on the fence about how to finish this one. Does it need another row of blocks so that it's not square? Does it need a border? Then of course, I will need to ponder how it will be quilted!

Decisions, decisions.

Monday, January 20, 2014

Wishes Quilt Along Block #1

Are you participating in the Fat Quarter Shop Wishes Quilt Along?

Originally, I wasn't planning to do this one, but my sister decided over Christmas that she was going to do it, and after seeing how cute her block turned out, I had to join in too!

I am using half yards rather than fat quarters and am using the pieces that I have of the Cabana Blooms collection that I got ages ago on clearance on Fabric.com. I have added in a few other fabric pieces from here and there and am using Kona Coal for my background.


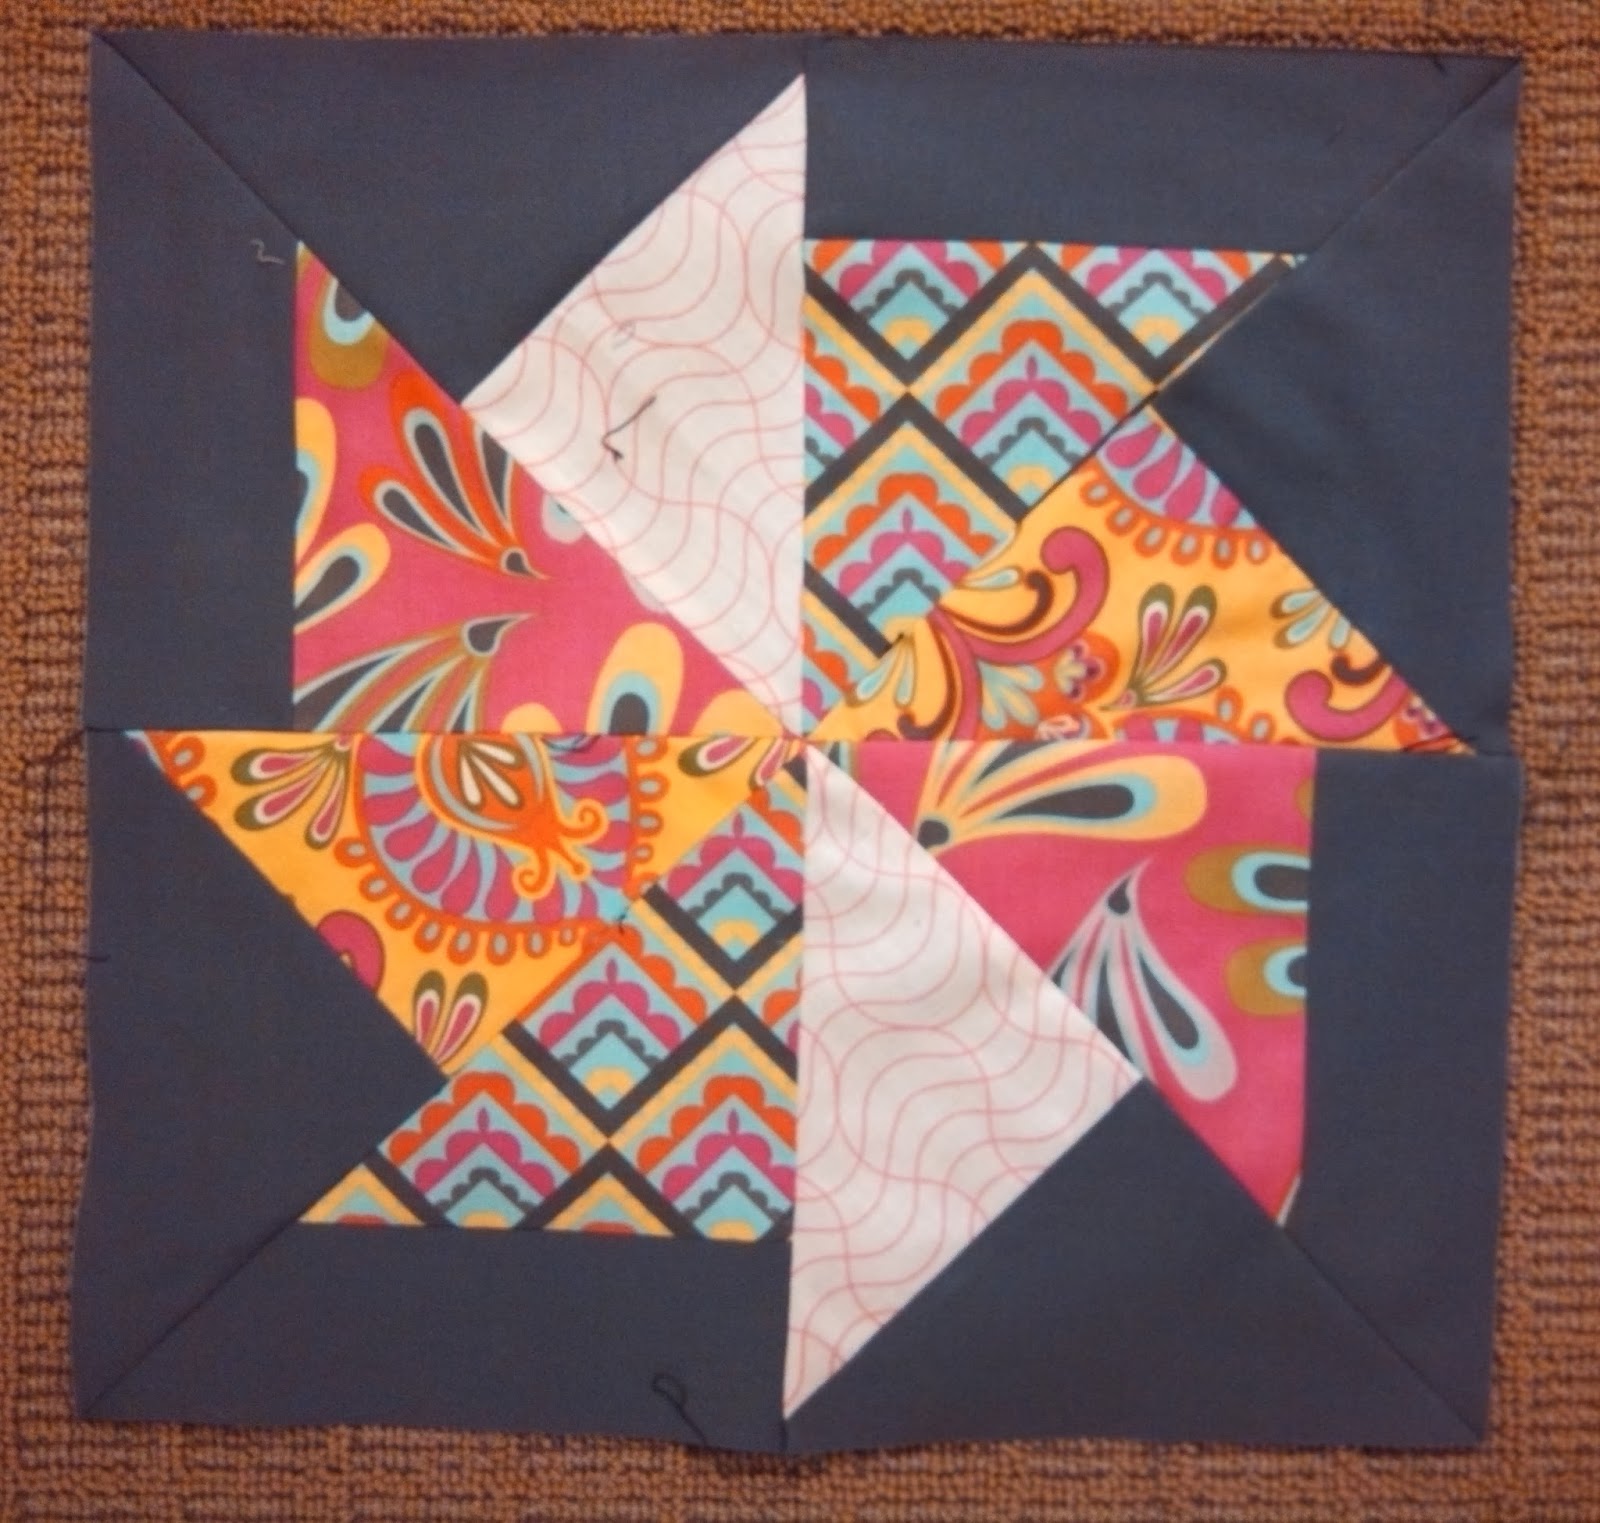
January's block is the Flying Kite Block. Instead of using 8 different fabrics, I used 2 each of four different fabrics.


I will also say that I did not make my block as directed. I cut my background triangles as directed and then used them as a "template" to trim down the triangles I cut from 6 inch squares cut diagonally once (I ended up trimming off about 1/8 th of an inch). Why cut four triangles and not use three of them? Why cut a nearly 8 x 6 inch piece and discard a whole bunch of it? My block ended up perfectly sized without wasting an excess of fabric. I certainly cannot afford the luxury of over-cutting or throwing good fabric away just because it makes for a simpler pattern.

Rant over. There's a great Facebook group and a Flickr group to share progress and ogle blocks, if you so desire!

Finished Sewing Machine Cover

This project came together SO FAST!!

Yesterday, I had showed that I had the front/back piece all sewed together and ready to be quilted. I decided to FMQ loop-de-loops all over.

I made sure NOT to make my loops too small!


My machine is wider at the base than at the top, so my side pieces had to have a wedge on the front side. I found another brown in my stash to use for the front of the side pieces and also quilted loops on those pieces.


I used my walking foot to sew the quilted pieces together and the first time that I turned it all inside out, it was really big so I stitched to the inside of all of my original stitching to take it all in a little bit. The corners took a little thinking to figure out how to do smoothly (cut notches on the side pieces) but turned out decent!

Here's the shot I took right before I turned it right side out the first time. I was kind of nervous to see what it looked like!


It didn't need trimmed hardly at all (I had cut about an inch or so off from each long side because it was much wider than I needed it to be, but the length was perfect) and I machine bound the raw edge around the bottom with the same fabric that I used on the side pieces.

Here's the finished cover doing its job, or as my husband would say "a hat for the sewing machine."


Start to finish, this project took less than 3 days! It's so nice to work on a small project like this every once in a while!

PS. Don't forget that our first set of seasonal placemats is on sale on Craftsy!

Sharing at Freemotion by the River and Fabric Tuesday!

Sunday, January 19, 2014

Getting out of the box.

I mentioned previously that one of my goals this year is to continue practicing my free motion quilting. One of my other goals for this year is to continue to make projects out of my stash and vast scraps.

Friday night and Saturday I got out this bag of all of the "stubs" of the strips that I used in my Argyle quilt and started randomly piecing them together and made some scrappy slabs. 


This is really out of the box for me. I saved all these scraps because I love this fabric line. I decided that I would sash the biggest blocks together and use it as the start to my quilted sewing machine cover.


I added a few inches of brown on all four of the sides for insurance. When I measured my machine it looked like the width was perfect as is and the length was just ever so slightly too short. I figured that with a few extra inches all the way around, I can cut it down if necessary.

And yes. The sides are seriously pieced (left over from the setting triangles from the argyle quilt), but again, I'm thinking I might end up cutting all of it off, so I'm not super concerned.


The finished piece is about 24 inches wide by about 32 inches long. Right now it is all pinned and ready to be quilted (using a piece of brown from a scrap box I bought that doesn't match anything -- perfect for the inside of a sewing machine cover.)

Off to practice something other than meandering with this one.