Wednesday, February 15, 2017

Traveling Quilt Bee {Wrap Up}

Today I wanted to share the finished versions of all seven of the quilts from my group in the Traveling Quilt Bee group I was a part of in 2016-2017. I'll start with the quilts I worked on first and move to the quilts I worked on more recently and finally show off my finished quilt.

The first quilt I worked on was Rheannon's farm and outdoor themed quilt. Here's her finished quilt:


The second quilt I worked on was Nela's. Here's her quilt top:


Tanya's quilt was third and here's her quilt in the wild:


Then I worked on Erin's quilt and here's a shot before it got mailed back to her:


Michelle's quilt was second last, here's it finished:


Lee's quilt was the last quilt I worked on, which I posted about a few weeks ago:


Finally, here is my quilt! It traveled all over the USA and has returned to me!


I am not sure if I will add on to this quilt or not, but part of me wants this to be a really big quilt. I am considering asking my mom and my sister to each add a section to the quilt.

Happy Wednesday! Sharing at Let's Bee Social!

Monday, February 13, 2017

Happy Galentine's Day! {Mug Rug Tutorial and Island Batik Goodies}

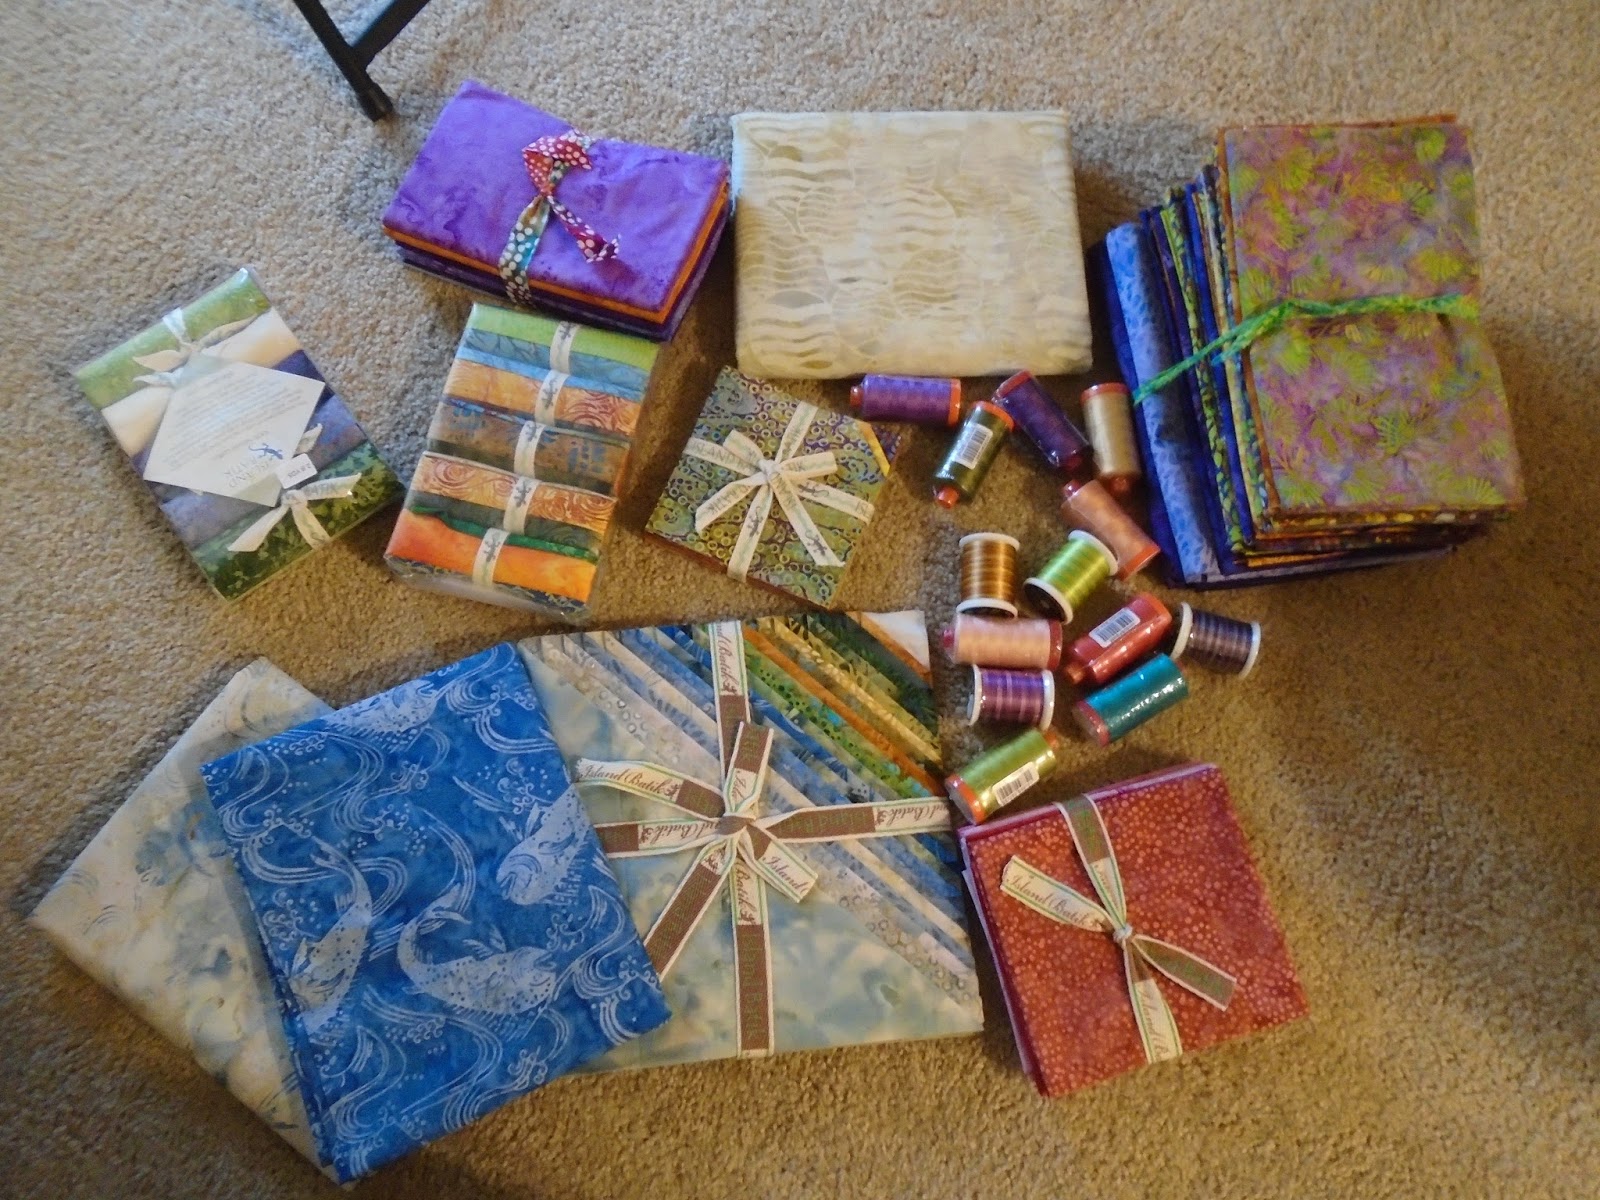
I'm excited to share that I am an Island Batik Ambassador this year! I will have lots of batik-featuring goodness this year -- including extra giveaways and tutorials, HOORAY! Check out all of this gorgeous quilty fun that I'll be using and featuring between now and July!


Today I'm sharing a Galentine's Day themed tutorial using some adorable pink and red fabrics!


If you aren't familiar with Galentine's Day, it is February 13th and it is for celebrating your best gal pals, and originally came about as part of an episode of Parks and Recreation, which happens to be one of my favorite shows of all time!

So in the spirit of Leslie Knope, I've designed a Galentine's Day mug rug with one of her most iconic quotes, "Friends, waffles, work."

I used two fabrics -- one fabric for my background and backing, and one fabric for my heart and binding.

From your background/backing fabric cut one 8.5 inch square and one 9 inch square.


Using your fusible web of choice (I use heavy duty WonderUnder) cut a heart shape that is smaller than your 8.5 inch square.


Iron your heart onto the wrong side of your heart fabric. Trim out the heart, trimming off a little bit of the fusible web so you have a clean edge. Remove the paper and iron onto your 8.5 inch square.


Using the thread and stitch of your choice (I used 12 wt Aurifil as my topstitching thread in a wide zigzag) machine stitch around the edge of your heart. Layer with batting (a great time to use those scraps!) and your 9 inch backing square. Pin as necessary.


Using a thread that contrasts with your background (I again used the 12 wt Aurifil) quilt a scallop edge around your heart.


Changing threads (I used red 50 wt Aurifil) quilt "Friends, waffles, work" inside of your heart. Quilt the rest of your piece as desired. I quilted additional scallops around my heart.


Trim to 8.5 inches and bind as desired. I used binding strips 2.25 inches wide.


This is the perfect mug rug to share with your best gals or hang as a mini! (Or use as a wine mat, let's be honest here!)


Have a Happy Galentine's Day today and a Happy Valentine's day with your sweeties tomorrow!

Sharing at Tips and Tutorials TuesdayLinky Tuesday, and Finish it up Friday!

Tuesday, February 7, 2017

Ten Tips Tuesday {Moving My Sewing Space}

As of Saturday, we are officially living in our new place! Hooray! We have unpacked a good portion of the boxes, are sleeping in our actual bed, and the bunnies are set up in their new space! But since I haven't even seen my sewing machine in over a week (I do know where it is and how I plan to set it up) I thought I would share today about packing and moving my sewing space as a part of Tips and Tutorials Tuesday.


1. Know your moving timeline.

Unless you are a professional quilter, more than likely, your sewing space is not an essential part of living (I mean it IS, but it isn't) so a sewing space is a good option to pack up and move early. I packed up my sewing space and it was one of the first things we moved. (We also needed the space as our "staging area.")

2. Prioritize what needs done before you move.

Bees, swaps, baby quilts, commissions -- anything with a deadline. I finished up my two traveling quilts and mailed them early but decided to put off my February bee blocks until after the move. (And don't forget to update your address with any bees and swap groups!)

3. Suitcases are your friends.

I packed all of my yardage into one of my largest suitcases because fabric in a box can get heavy quickly. Suitcases with wheels are your friends. I wasn't able to fit everything into suitcases but I put my lighter supplies into boxes.

4. The amount of "stuff" will surprise you.

I am very guilty of harassing my husband about his book collection, but packing and moving my fabric stash, notions, and quilts has humbled me a little bit. Even if you are the most organized person in the world (which I am not) you will still be surprised with how much stuff you might have.

5. Destash and declutter.

I have put up quilts for sale as well as offering giveaways for things that I just didn't love anymore. I also went through all of my quilt magazines and ripped out patterns I wanted to keep and threw away a bunch of old issues. Be critical of what you have and what you think you will use (or never use!).

6. Think about your ideal sewing space.

What is working in your current space? What is NOT working in your current space? For me, my wire rack shelving works great, but my plastic table isn't the perfect height and having a storage bin under my table makes things crowded. I plan to move the bin into a different location and save to purchase a sewing cabinet.

7. Project boxes/bins/bags.

I made sure everything for each in-progress project was all in one location -- box or bin or bag -- so that no part was lost or misplaced or accidentally used for something else.

8. Keep your rulers handy.

A long ruler or flexible measuring tape works in a pinch for measuring walls and aligning pictures if you don't have a metal measuring tape handy. Be sure to pack them so that they don't get snapped (this happened to me once, it was heartbreaking!) but make sure they are accessible!

9. Prioritize unpacking.

For me, getting my wire rack rebuilt and everything that I store on it back together eliminated two medium packing boxes, a large suitcase, and a bunch of smaller boxes. Packed up, it took up more space than when everything was put away. We ended up having to re-use the packing boxes for other things!

10. Reassess WIPs.

If there were WIPs that you somehow forgot about, you might potentially stumble upon them in the moving process! I had done a pretty thorough inventory of all of my works in progress, but I still found more orphaned blocks than I thought I had.

Do you have any additional tips or ideas? Check out everyone's tips and tutorials at Quilting Jetgirl/Late Night Quilter!

Friday, February 3, 2017

Coast to Coast Traveling Bee {Month #1}

My last project before packing up my sewing space was to work on my first assignment for the Coast to Coast Traveling Bee. For the first month, I worked on Susan's quilt center. Here's what it looked like when I received it:


Her requests were near-solid prints with a modern feel in a rich rainbow palette. She also requested movement and classic quilt blocks. I decided to go with a ring of friendship stars around Susan's center starter. To give it more movement, I decided to alternate between 6" and 4.5" finished blocks, with all of my stars twirling in the same direction as Susan's flying geese.

Here's my original fabric pull:


I eliminated a number of fabrics because the prints were too large and colors that weren't quite rich enough. Instead of making each star in a different color, I decided to pick one fabric for each of my eight colors (pink, red, orange, yellow, green, teal, blue, and purple) and make both stars in the same fabric for a total of 16 stars. Here's all of my finished stars before I added the sashings:


I had to do quite a bit of quilt math to get the sashing pieces just the right size, but it turned out perfectly! (For some reason the teal is looking more robin's egg blue in these pictures, but it is actually a medium-dark teal print.)


This beauty is on its way to Audrey and I am waiting for Susan to send me Chelsea's quilt!

Sharing at Needle and Thread Thursday!

Wednesday, February 1, 2017

My Loss is Your Gain - Part Two {More Giveaways!}

I'm back today with THREE giveaways to stock your quilty coffers!

First up is this set of floral fat quarters that have been languishing in my stash for far too long and need a new home:


Second, we have a SIGNED copy of Big Block Quilts by Victoria Eapen.


Finally, we have a whole stack of patterns that I have collected and will never use!


TO ENTER:

1. Leave a comment with which giveaway you'd like to win. Easy peasy.

2. Since it is February and Valentine's day is upcoming, leave an additional comment ONLY IF you got engaged or married in the month of February. (I love Valentine's Day engagements because I got engaged on Valentine's Day!) 

The giveaway will close Monday, February 6th, at 5 PM.

That's it! I'm neck-deep in boxes, so I am looking forward to sewing again next week!

Update: The giveaway is now closed! Our winners are Breanna S., Miss Pat, and ScottyLover!