
But first, here are my stitch and flip square in a square units for the centers of my five Missouri Star blocks:

Most Missouri Star tutorials will have you individually piece the little triangles and the background for the "star point" sections of the blocks. The method that I use combines half square triangles with the fast flying geese method to avoid tiny piecing and bias stretching.
I originally came up with this idea when I wrote the tutorial for a 12" Missouri Star block for my Quilter's Choice QAL in 2014. Replacing squares with pieced HSTs provides you a fun way to make your flying geese units more interesting.
Since these blocks are 9" finished, my squares are scaled down from my original directions.
For four (4) Fancy Flying Geese for a 9" finished (9.5" unfinished) block:
One (1) 5 3/4" background fabric square
Two (2) 3 3/4" focal fabric squares in color A
Two (2) 3 3/4" focal fabric squares in color B
Combine your A and B focal fabric squares to make four (4) A/B half-square triangles. Draw diagonals on the back of your B squares, layer each right sides together with your A squares, stitch 1/4" from each side of the line, cut apart on the diagonal line, and press. Trim these units to 3 1/8".
I'm making two colorways of star blocks so I made two colorways of HSTs for my fancy flying geese:

After trimming, draw diagonal lines on the back of each HST perpendicular to the seam. Layer two HSTs atop your background square with the same color of the HSTs at each corner and at the center.

Sew 1/4" from each side of the drawn diagonal, cut apart on the diagonal line, and press toward your half-HSTs.

Repeat with the remaining two HSTs atop your half-way-completed goose units. Cut apart on the diagonal line, and press toward the half-HSTs for four (4) complete Fancy Flying Geese units.

This method can be adapted for any size flying geese -- just cut the squares for your HSTs 1/2" or 5/8" larger than what would be needed for the fast flying geese method.
Here's my first Missouri Star block:

Here's four out of the five together:

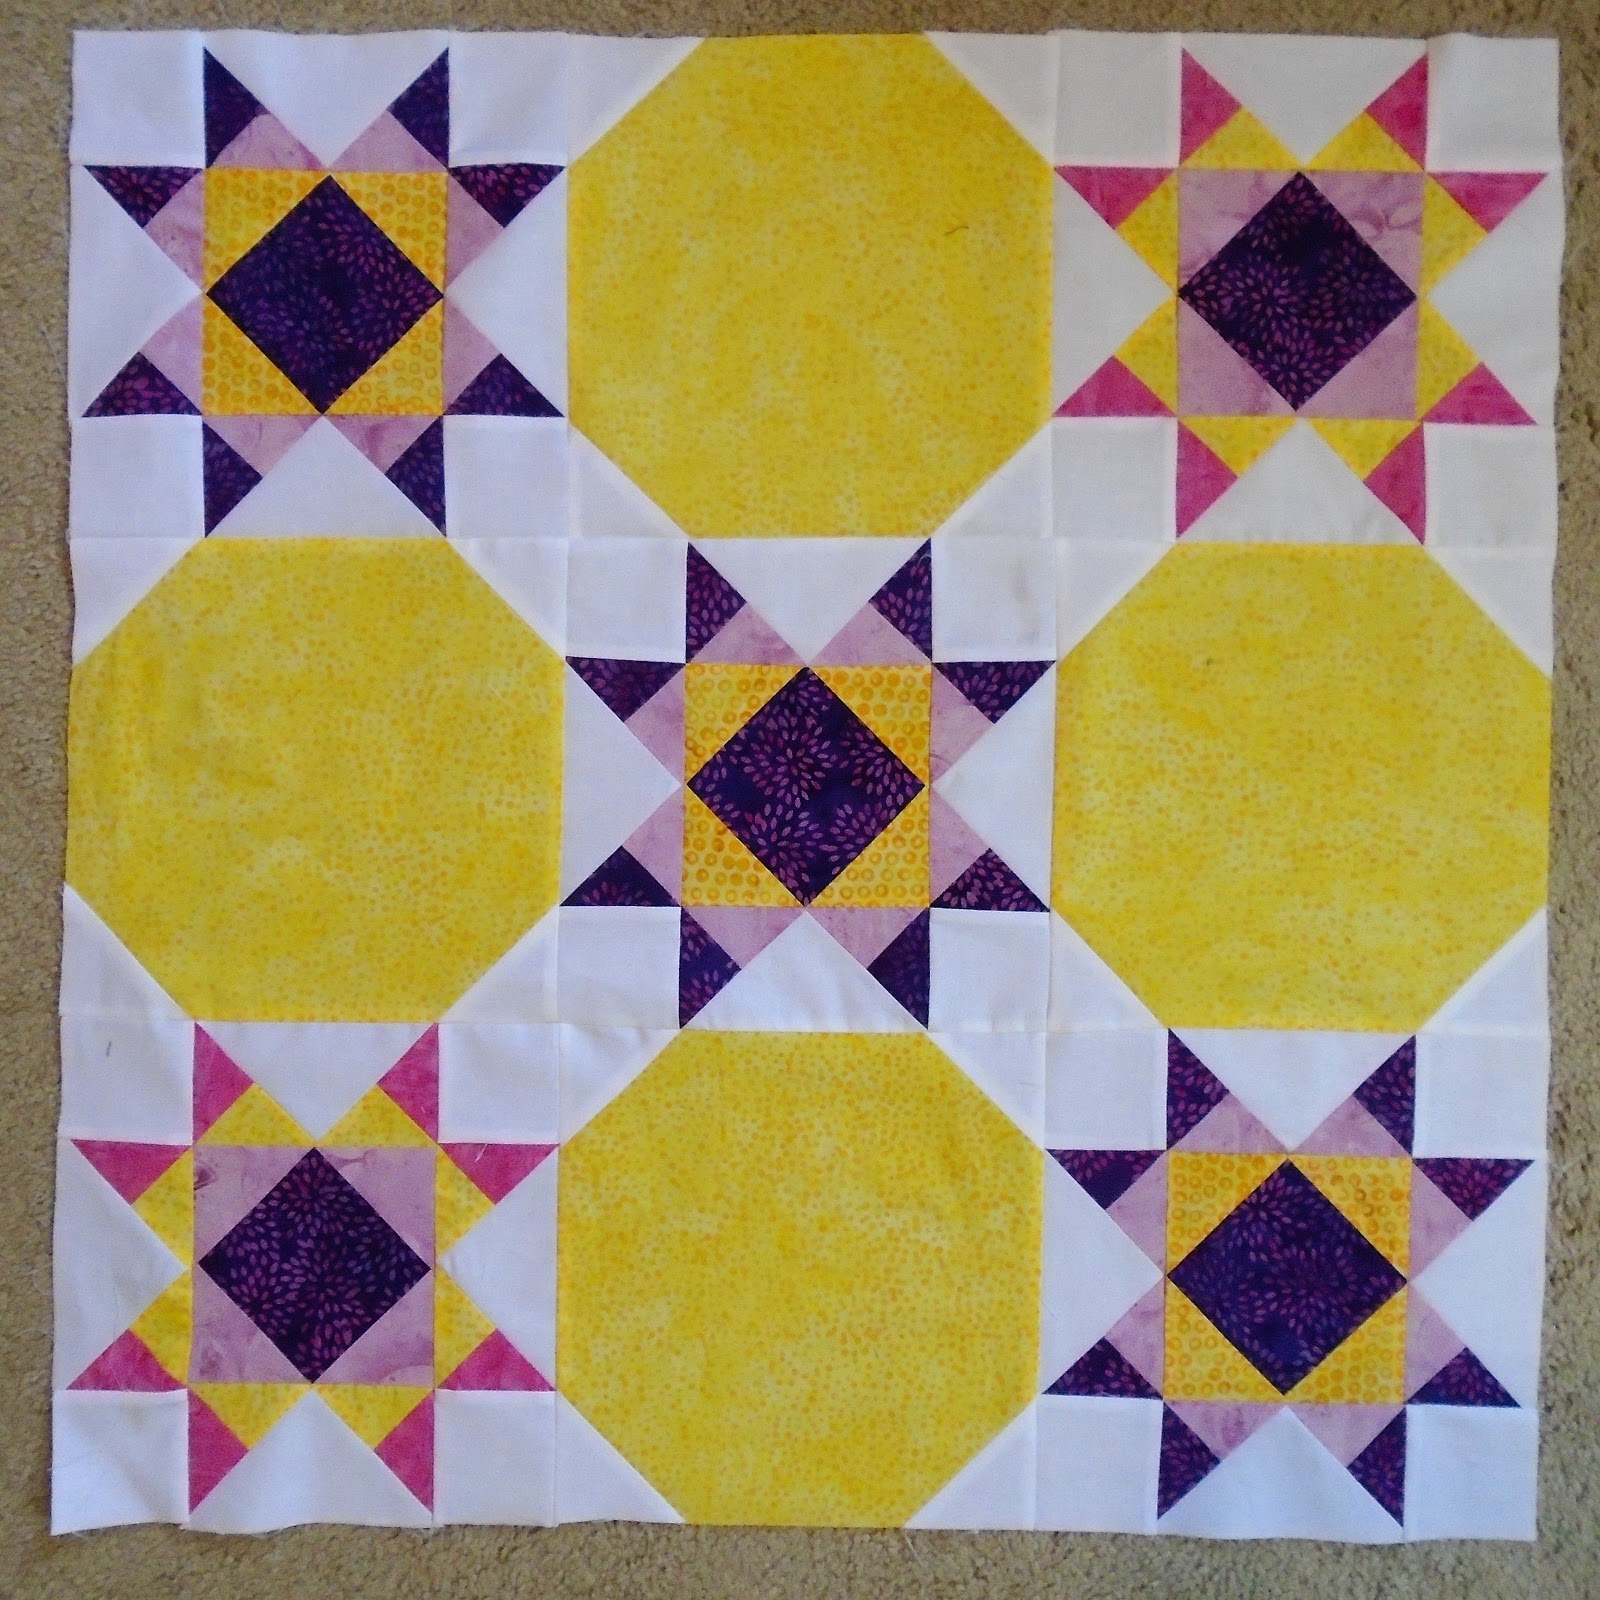
And here's the center of my quilt all together!
Now I need to work on the pieced borders and think about how to quilt this baby quilt! I'll need to grab some flannel for backing as well! As always a big thank you to Island Batik for allowing me to participate in their Ambassador program and providing me with these fun batiks to create with!

Awesome method - thanks for sharing!
ReplyDeleteOh this is fun!!
ReplyDeleteI don't think I've ever seen flying geese done this way. They look great!
ReplyDeleteWhat a very awesome and fun way to add detail to a flying geese unit!
ReplyDeleteThis is a great tutorial; thanks for linking up with the Festival!
DeleteGreat tutorial! I like the way your mind works :) I'm saving this as a PDF in my permanent file.
ReplyDeleteThat's a great way to avoid sewing along the bias. Thanks for sharing.
ReplyDeleteThank you Alison for this fantastic tutorial. I love your creativity.
ReplyDeleteThis is an awesome way of making those flying geese! Thanks so much for sharing with us.
ReplyDeleteWow, very cool and very fancy flying geese.
ReplyDelete