
Welcome to week one of our Starburst Quilt Along!
This pattern can be made into a wall hanging:

Or for as a throw sized quilt:

For your foreground fabric (fabric for stars themselves), most of the stars use 4 different fabrics. Amanda's quilt uses 4 different fabrics with very different intensities with a white background. All of the eight star points (that are a part of every block in this series) she used the medium orange fabric for.
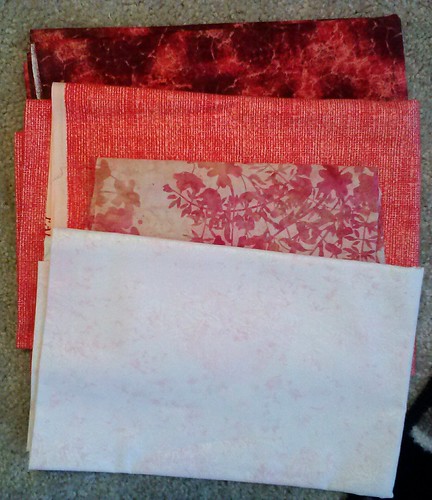
My quilt uses 9 different fabrics, some lighter, some darker, but some purple, blue, teal, and green on a black background.

We have a thread over on the Flickr Group for everyone to share their fabric pulls!
IMPORTANT NOTE: When you go to print your blocks, when your print screen comes up, make sure you click "actual size" under the scaling menu instead of "fit to page" -- otherwise your blocks will end up too small!! Double check yourself -- from dashed line to dashed line should measure 3 1/2 inches.

General Tips for Block #1:
Everyone finds their own "groove" when it comes to paper piecing techniques. If you're a newbie, I would suggest starting on the corner blocks first and then doing the center side blocks second.
When prepping your fabric to use for paper piecing it is easiest to cut strips or smaller chunks from your yardage to work with on your blocks. I typically cut 3 3/4 inch or 4 inch strips in this project -- that way if I wanted to cut a 3 1/2 inch square of the foreground fabric for a particular block (which you have in Block #1) you can do so from your pre-cut strips.
The dashed line on the block template is the cutting line that includes the quarter inch seam allowance for when you sew your blocks together.
Save your scraps! A few of the blocks later on will be able to use some pretty small pieces! I know that I jigsaw my fabric around so that I waste as little as possible. If you're just starting out, don't risk your fabric being too close to the seams and pulling apart -- no one wants that! Better to trim off the excess than to realize that you have to rip out that piece and start over!
I tore off my paper templates before I put my nine starburst units together. Some people don't do so until the block is finished (to help eliminate stretching along the bias). I find that it adds unnecessary bulk when sewing the rows together.
I sew my blocks together into three rows of three blocks and then sew my three rows together. I press my seams to one side and then alternate which way the seams face (both seams in, both out, both in, etc.) to have interlocking seams when I go to sew the rows together. I typically iron to whatever side is less bulky.
Here are my two finished Starburst #1 blocks:


A few people have already shared their blocks over at the Flickr group!
Please comment here or on the Flickr group if you have any questions or comments!
Go forth, and paper piece to your heart's content!

I'm working on block one. I've been looking everywhere for the background fabric I wanted. It's out of stock except one store. I ordered it so I sure hope their website is up-to-date and I get it in a couple of days. Cross your fingers.
ReplyDeleteI don't like paper piecing, but this is a great block. I saw BillieBee's blocks in red and now yours - just wonderful!
ReplyDeleteBeautiful quilt! Can't wait to see where everyone takes this one :)
ReplyDelete