First, go to Craftsy and download the free pattern for the Scrappy String X Block and print the foundation pattern -- you'll need two foundation patterns for each block you make.
(Note 1/1/19: Craftsy is no longer hosting this free pattern. This post will be updated with a link to the free template as soon as we are able to find a new site to host our free patterns.)
Here's a picture of what the foundation pattern looks like printed out. If you want, you can trim down the paper to approximately 1/2 inch away from the solid line of the square.
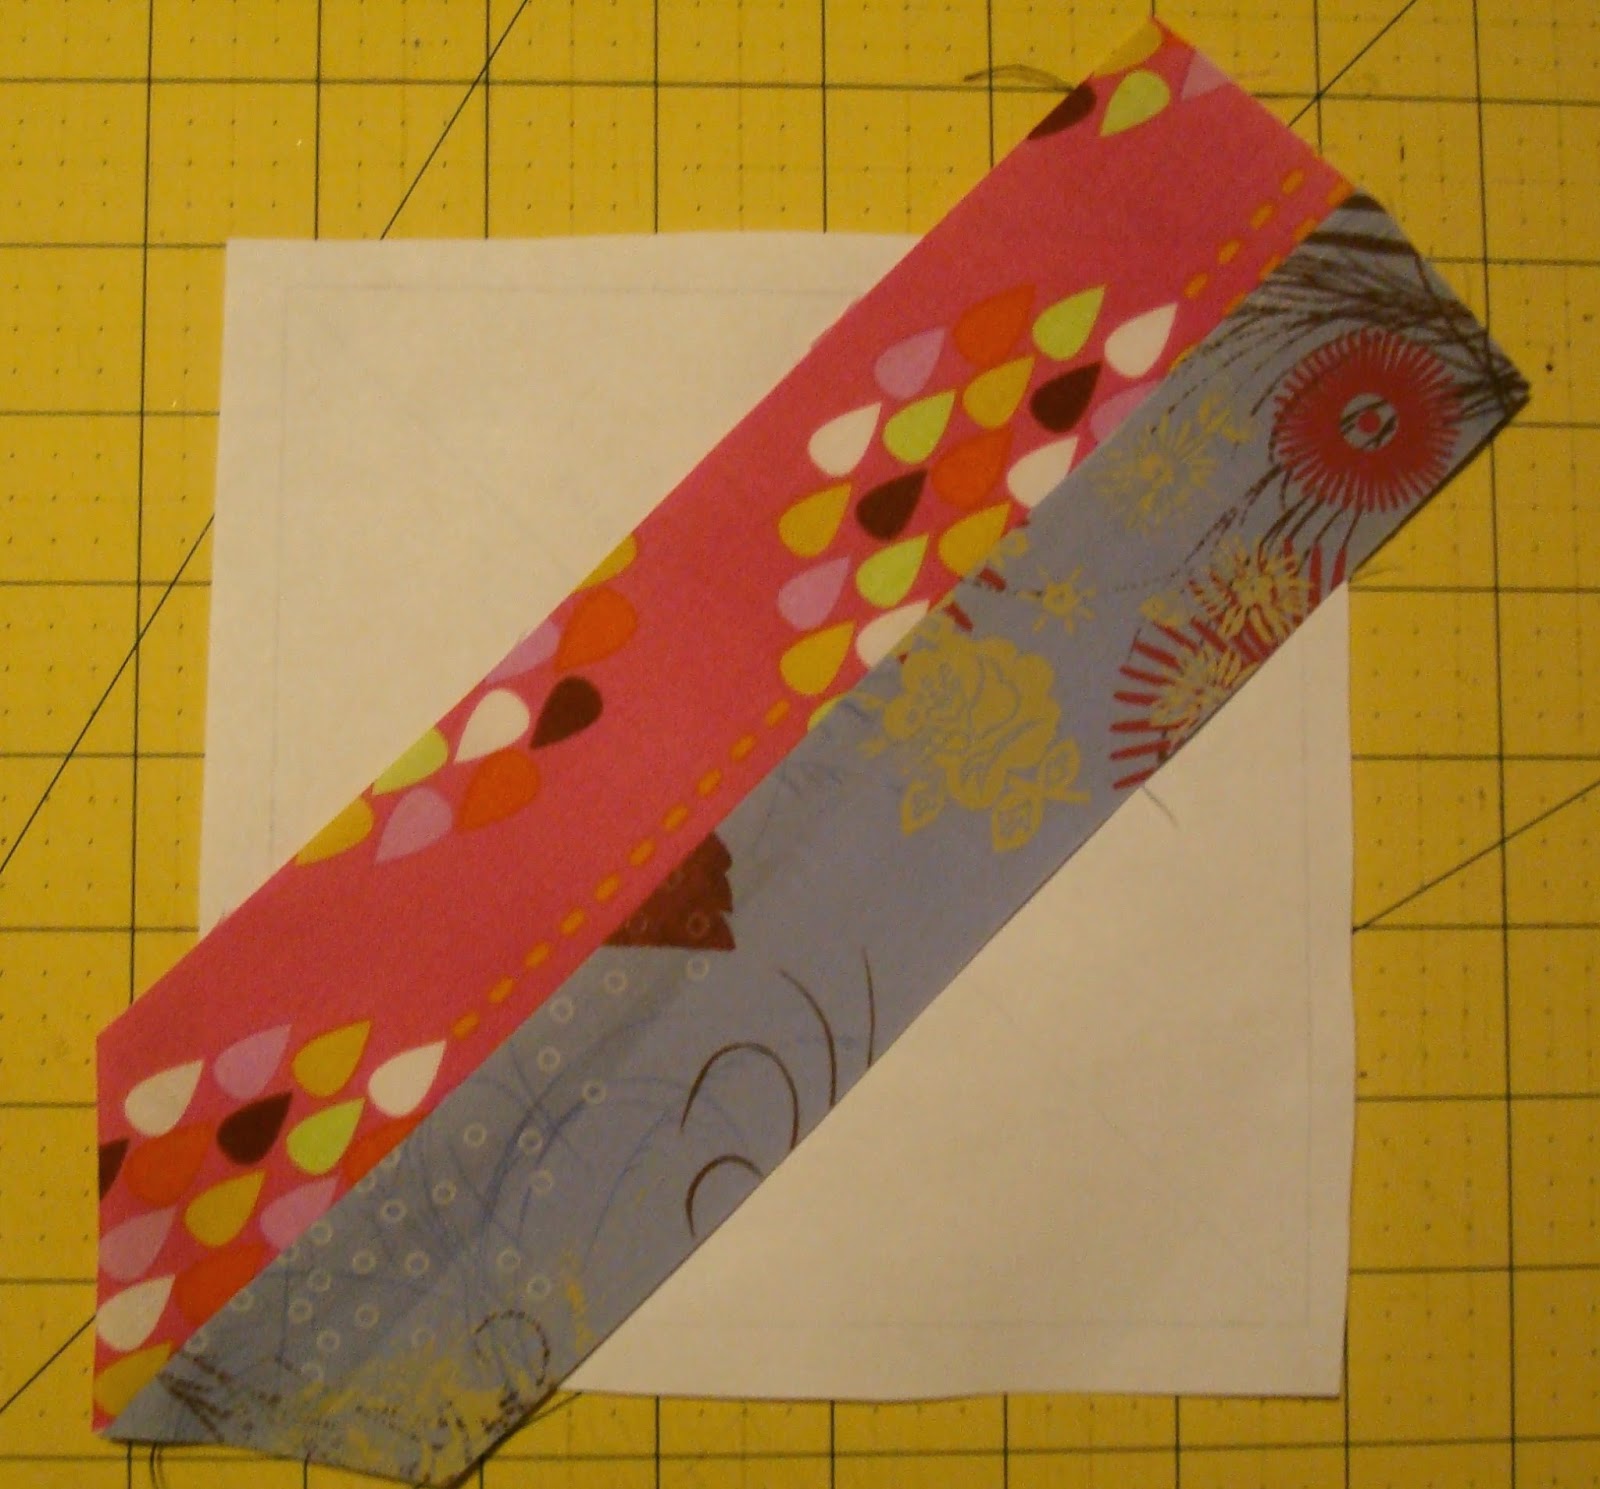
Using scraps long enough to span the entire square, pair two scraps right sides together and line up parallel to the line marked "line up fabric parallel to this line." Layer fabrics on the wrong side of the paper pattern so that you can see the square on the opposite side.
Sew 1/4 inch away from the edge of the fabric, sewing through both layers of fabric AND your paper foundation. A 1/4 inch foot is helpful here.
Press fabric to one side. Trim off excess if desired.
Turn over and trim along the perimeter of the square. Your block should now be 6 inches square.
Using the diagonal line on the pattern, cut diagonally from corner to corner, perpendicularly to the direction that your fabric strips run. Remove paper foundation from your blocks.
For each X block you will need to make TWO scrappy squares.
Using your short 2" by 7" strips sew together pairs of string triangles as shown below. The right angle corners of the triangles should be sewn to the "inmost" end of the rectangle -- one on each side.
Using a 2" by 15" strip, sew together the units you assembled in the previous step. It is encouraged that you pin in the center so that your 2" by 7" strips line up with one another!!
Trim your block to 9.5 inches.
Ta da! You're finished with one block!
Here's my finished quilt top from way back when if you've never seen it!
The pattern we've written is for a throw with 30 of these blocks just like my original quilt, but this pattern is easily adaptable to both smaller and larger quilts, as well as a quilt without sashing!


A very great tutorial. I might just make one of these for my next miniquilt swap!
ReplyDeleteThanks for sharing the tutorial. I'm on a new project diet until I finish up a few of last year's projects. But this one will into my "to make" bucket.
ReplyDelete